SentryBox has been discontinued. Thank you for being part of the journey — learn more in our blog post
Our goal is to create a plug-and-play device that detects hackers within a network,
allowing our customers to focus on what matters most. The setup should be quick and effortless: unpack the
product, plug it in, select the device's mimic settings, and it’s ready to go—no time-consuming configurations
or maintenance required.
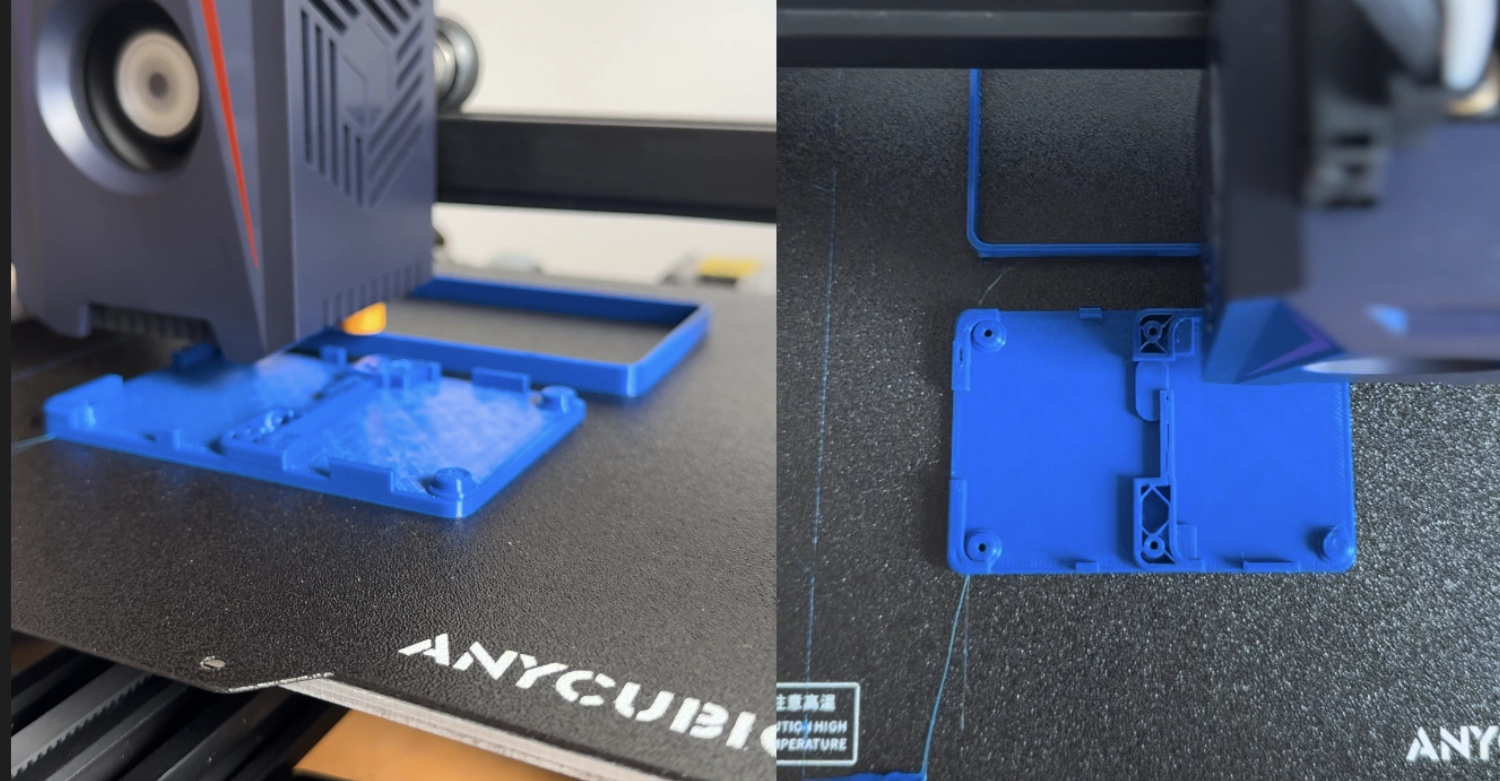
To achieve this, we need to design our own casing. What better way to do this than by
3D printing it?
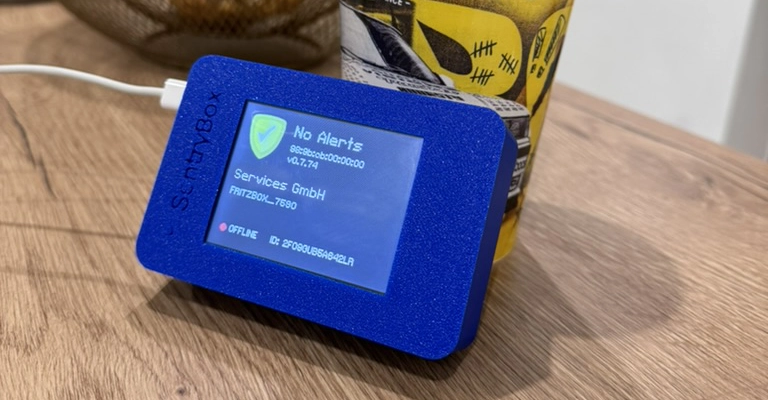
In envisioning the ideal device, incorporating a display would be a fantastic addition.
Imagine having the device placed in an office, where a quick glance at the display reassures you that it’s
running smoothly and that no alerts have been triggered—providing both peace of mind and a sense of
security.
There are several display options available that can connect to various Linux boards, which
would fit well with this concept. However, we need to thoroughly test their reliability to ensure they meet
the standards required for continuous operation.
With no budget to work with, what software is available? There are many professional
tools like AutoCAD that are perfect for the job, but they are extremely expensive for commercial use. As
simple as it may seem, we ended up using the open-source software Blender to create our 3D
model and then print it. Blender is primarily designed for 3D animation and rendering, but it is possible to
build a printable model—though it may not be as precise for designing physical objects. Using a high
resolution when printing round surfaces helps significantly.
We learned that Blender creates STL
files, which are widely supported by most 3D printing slicers.
When designing the case, we needed the
ports to fit perfectly, which we achieved through simple measurements and a few iterations. There was no need
for active cooling, and the SentryBox has enough room for proper airflow.
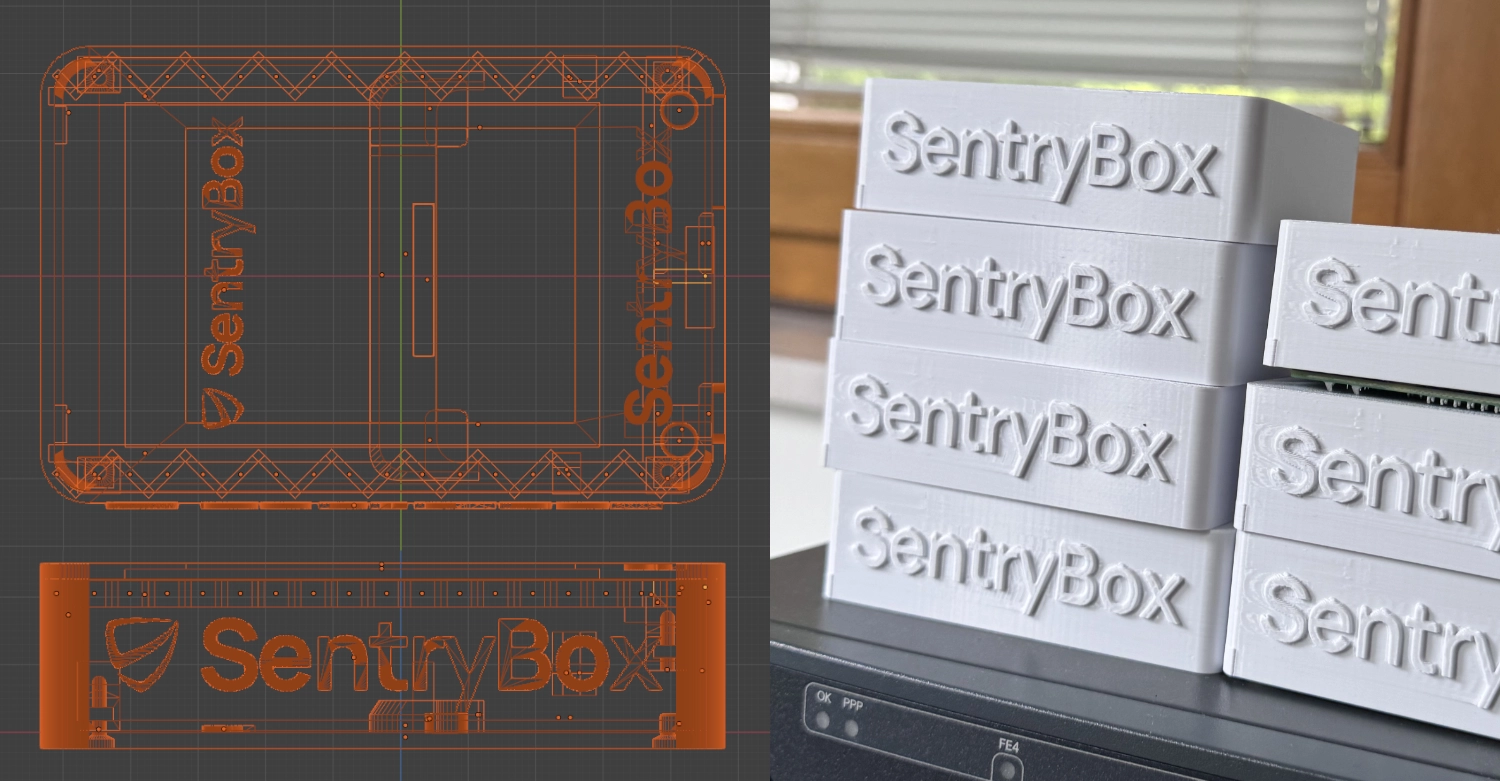
Initially, we thought we could produce the cases ourselves with sufficient quality.
However, we quickly encountered limitations in 3D printing. Larger overhangs were not possible without
support, and printing the logo often resulted in blurry edges. Additionally, the material lacked
certification, and the melting temperature of PLA was too low. We realized we couldn’t ship the final product
as is.
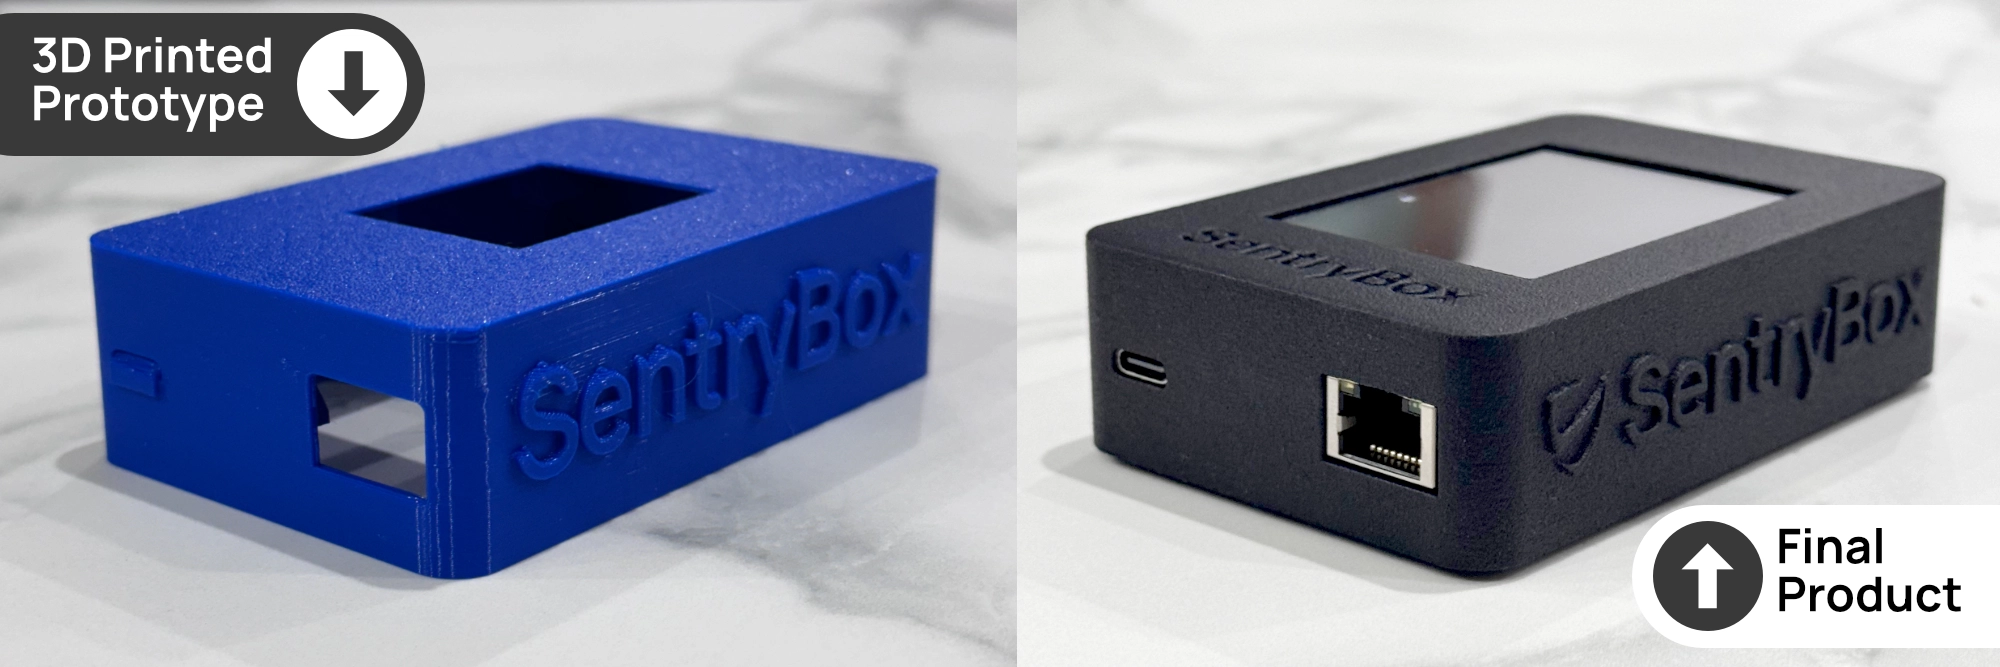
Fortunately, I had previously built a website for a local plastics manufacturer, which
specializes in both small- and large-scale production. We provided them with our 3D printing file, and they
produced a perfect, certified SentryBox case.
Regardless of the hardware we ultimately choose, prototyping is an essential step in
our development process. We’re committed to learning new skills and ensuring that our product is crafted
exactly as we envision it, with meticulous attention to detail. Ordering a 3D printer to create our first
cases in-house allows us to refine our design and make adjustments before moving on to large-scale
production.
This hands-on approach helps us bring our vision to life with precision and care. Now, we
are ready to have the SentryBox professionally produced.
